How AI vector generation creates editable artwork
Explore how prompts become editable paths, shapes, and colors—and how to refine generated vectors for real design work.
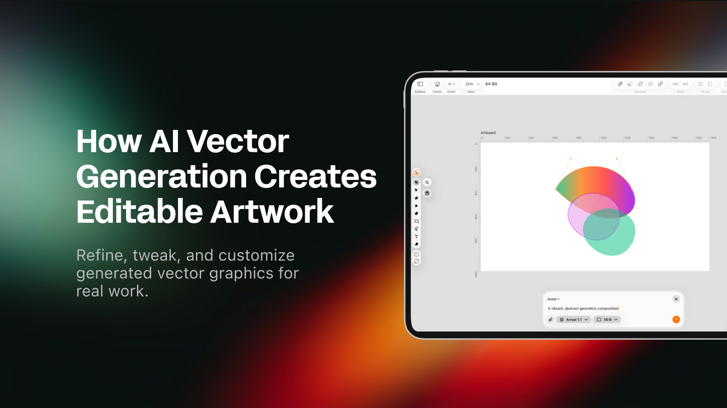
Linearity AI Vector Asset Mode turns a text prompt into editable vector artwork whose paths, shapes, colors, and composition can be refined after generation.
Most generative tools return a finished-looking image. That can be useful for exploration, but it becomes restrictive when a logo shape needs correcting, a brand color changes, or an illustration must work at ten different sizes. Vector generation addresses a different problem: creating a structured starting point that remains practical to edit.
What is AI vector generation?
AI vector generation creates artwork from mathematically defined paths rather than a fixed grid of pixels. The result can be scaled without losing sharpness and, more importantly, its individual elements can remain available for hands-on design work.
In Linearity, the goal is not to remove the designer from the process. The model gives you a faster first draft. You decide which shapes to keep, where nodes should move, how colors should behave, and whether the composition actually solves the brief.
How a generated vector is structured
A vector illustration is assembled from paths, anchor points, fills, strokes, and layers. That structure is what makes the output adaptable. You can select one object without repainting the whole visual, adjust a curve without regenerating the scene, or replace a color throughout a group of shapes.
- Paths define the outlines and geometry of the artwork.
- Nodes and handles control corners, curves, and transitions.
- Fills and strokes control color, outlines, and visual weight.
- Layers and groups make complex illustrations easier to navigate.
- Independent objects can be rearranged, removed, or reused.
How to prompt for useful vector output
Vector prompts work best when they describe design characteristics rather than photographic details. Focus on the subject, level of complexity, shape language, palette, perspective, and intended application.
For example: A minimal vector illustration of a delivery bicycle, geometric shapes, rounded corners, three-color palette, side view, clean negative space, suitable for an onboarding screen.
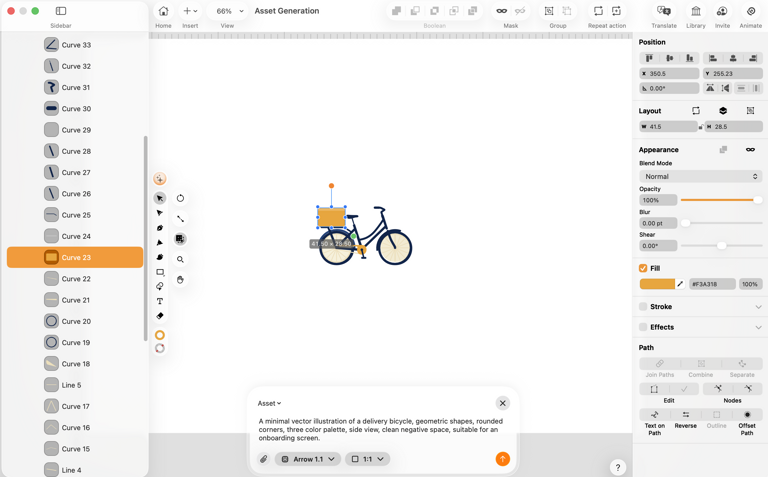
This prompt defines what the artwork shows and how it should be constructed visually. It also names the context in which the result will be used.
Control complexity
Ask for simple, minimal, flat, geometric, detailed, or layered output depending on the job. Fewer shapes are often easier to edit and work better for icons, diagrams, or small interface illustrations. More detail may suit posters and editorial artwork.
Define a palette
A limited palette creates a cleaner starting point and makes later brand adaptation easier. Describe the mood, provide key colors or ask for a restrained number of tones. You can then replace exact values during editing.
Choose your model
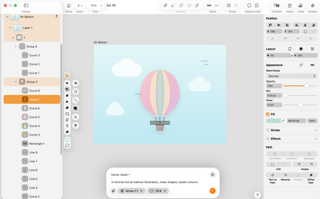
Arrow 1.1 by QuiverAI is the featured model — design-native, built for vector generation, produces clean results that are ready to work with immediately.
Linearity AI is also available and brings a different visual style. Worth trying both to find what works for your project.
Choose your aspect ratio
1:1, 4:3, or 16:9. The output lands on your canvas at the right proportions, ready to work with.
Generation queue
Queue multiple generations at once and keep designing while they run in the background. Each result lands when it's ready. Pick it up, keep going.
How to edit an AI-generated vector
Start with the largest decisions. Check the silhouette, proportions, visual hierarchy, and number of objects before polishing individual nodes. Structural corrections have more impact than tiny curve adjustments.
- Delete shapes that add noise without improving the idea.
- Use the Node Tool to move anchor points and correct silhouettes and proportions.
- Simplify paths when too many nodes make curves uneven.
- Replace generated colors with exact values from your brand color palette.
- Group related objects before resizing or rearranging them.
- Test the artwork at its smallest and largest intended sizes so the vector remains clear and scalable.
Where vector generation works best
Vector Asset Mode is especially useful when the output must remain sharp, reusable, and easy to adapt. Common applications include icons, logos and logo exploration, spot illustrations, diagrams, stickers, badges, editorial graphics, and campaign elements that need multiple sizes.
It is less suited to highly realistic scenes, natural textures, or photography. Those are usually better starting points for Image Mode. Choosing the right representation early prevents unnecessary conversion and cleanup later.
From generated vector to campaign system
The strongest use of vector generation is not producing one isolated graphic. It is creating components that can keep working: a character reused across a series, an icon family adapted for different features, or an illustration system recolored for regional campaigns.
AI starts the asset. Editable vector structure lets the team extend it, standardize it, and keep it aligned with the rest of the brand.
For photorealistic and texture-rich work, read the guide to AI image generation and editing. To decide which mode belongs at each stage, see how image and vector generation work together.
:quality(75))
:quality(75))
:quality(75))

App of the Day
6.1K ratings
Get Started for free

Design in Curve.
Create sharp, scalable designs with intuitive tools for logos, illustrations, and professional branding.

Animate in Move.
Effortlessly create animations for social media, online ads, and motion graphics.
Trusted and used by leading brands


